Sunday, January 30, 2011

Hancock Shaker Village Photo Safari


The pictures in this post were taken several years ago, during a trip back East. I recently found them again, buried in the computer image files. Strangely, they were already edited and organized for posting to the blog, but apparently I never got around to it. At least, I don't think so...

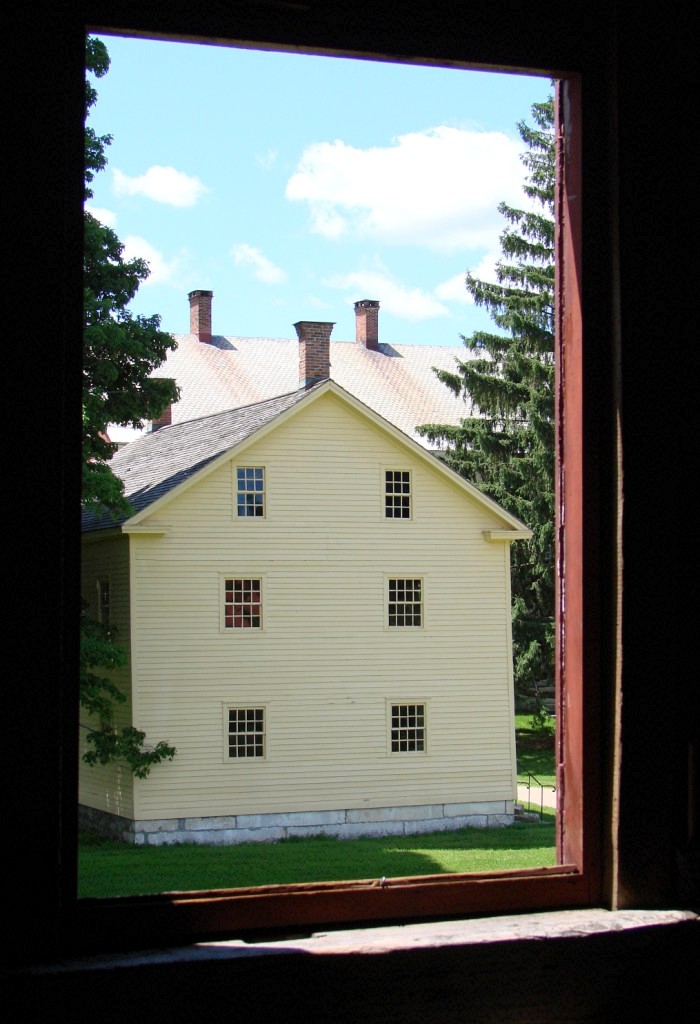
Shaker furniture gets a lot of attention, and rightfully so, but the environment where the furniture was created is also important. With that in mind, here's a series of photographs I took during a visit to Hancock Shaker Village in Pittsfield, Massachusetts. I was trying to capture the peace, beauty and sense of simple perfection that, to me, so typifies Shaker work.

See if you can spot the not so secret theme that runs through these images...


Did you spot the theme? That's right! There's a pig in every picture!

Seriously, I love multi-light windows and the look and feel of natural lighting. In this regard, and others too, Hancock is a paradise.

Oh, and I've got to get one of those hand-cranked thickness planers! But no thanks to the scary table saw...


Tuesday, January 25, 2011

360° Shop Complete


I can now stand in the shop and turn in a full circle and see only woodworking. Cool.

It's nothing special really, just a relatively cheap door from the home center, but it makes a big difference. With the door installed in the wall, my last view of the water heater, furnace, and random junk pile is no more (well, until I open the door). I really like the feeling I get when I close that door - suddenly I'm in the shop.


I was going to make my own door. But with time tight I went with the pre-hung option and just bought it. Of course, you get what you pay for, and in the end I had to take it completly apart and fix it - nothing was square or true. Still, it was faster.

I haven't decide yet if I am going to paint it.


Tuesday, January 18, 2011

Birthday Pencil Boxes


This post has been in the hopper for quite a while. I took and edited all the pictures, but didn't get to the text before getting buried in the holiday hoopla. After looking it over, I almost posted it without any text at all, but in the end I decided to go with some minimal writing. Here it is; I hope you enjoy it.

At my new school, we have a tradition that as part of each birthday celebration the teacher presents a hand made gift to the student. My gifts are wooden pencil boxes. Here's how they are made.

The first step is to groove the 1 1/2" by 1/4" oak strips that will make up the four sides of the box. Here the Stanley 45 is set up in "plow mode" using the off cuts from a previous box as a template for setting the plane's fence and depth stop.


After securing the strip to the bench, the 1/8" groove is plowed in short order. The holdfast bridging arrangement allows me to clamp on the very edge of the strip without crushing the wood.


Next, the rabbets are planed in the stock that will be used for the bottom and the sliding top.


After the plowing and the rabbeting, a smoothing plane cleans things up.


Parts get cut to length on the miter box.


The sides get marked for rabbets.


The shoulders get cut...


...and the cheeks are split off with a chisel. I don't gauge for the cheeks, I just use the grooves to set the bottom of the rabbets - simply spanning the end grain between the grooves with a wide chisel and then removing the bits of waste at each end.


The rabbets in the ends of the top and bottom are cut using the side rabbets as depth gauges and then split off with the chisel. All end rabbets are cleaned up with a shoulder plane.


Test fit before glue up.


Here's the body of the box after glue up - the small scrap next to the knife is from removing the wood from the groove up in one end to allow the lid to slide on and off.


The lid has been fit, but is still extra long.


Starting the finger pull.


The lid is cut to length (this should always be done after finishing the finger pull - DAMHIKT):


The joints are trimmed with a chisel and smoothing plane.


My maker's mark is added (you may have seen this photo in an earlier post).


And here are some shots of the finished box.


Here's the tool kit for this project (minus the miter box and marking knife which somehow wandered off).


Monday, January 10, 2011

My Apprentice At Work


Teague definitely has the galoot gene.


That's my boy!


Friday, December 31, 2010

Millers Falls Auger Handles


After the last post about my drilling/boring tool panel upgrade, a reader (Alfred) was curious about the two auger handles visible at the top of the panel. He specifically wanted to know the range of auger sizes these handles could accommodate: "Do those handles accept the regular brace auger bits/ only the larger ones, or do they require special size bits?"

I promised to find out, and in the process my curiosity about the two handles was piqued. So here's the answer to Alfred's question and a bit more (okay, that one was not intentional ).

First up is the Millers Falls No. 2 auger handle, as described in their 1925 Catalogue:


Mine is a newer version (it has the Greenfield, Mass. address, rather than the older Millers Falls, Mass. address) but as far as I can tell it is the same as the one in the catalogue. Well, with the exception that someone seems to have gone crazy on it with some spar varnish. "Oooh! Shiny!"

This shot is the front side, with the smaller of the two square "jaws":


Here is the reverse side, with the larger opening:


It's a pretty simple device really. Just loosen the wing nuts, insert the auger, and clamp it tight, with one "jaw" holding the tapered end and the other the shank.

As their catalogue copy states, it can handle very large augers:


But it can't handle the smaller bits:


The auger in the handle is a 13/16ths, which was the smallest I could fit securely. The 4/16ths on the bench top was impossible to use in the handle.


Now on to the Millers Falls No. 4, again from the 1925 catalogue:


Mine might actually be a copy, as I can't find a single identifying mark on it, other than an owner's stamp of "Leo Putnum".

Here you can see the beefy two jaw chuck:


And from this angle you can see the ratchet control lever to the right of the auxiliary handle attachment point:


Speaking of the auxiliary handle placement - here it is:


The end part of that handle rotates on its own, much like the pad on a brace.

This is one versatile beast. It easily handles (not another one!) the biggest auger I have:


As well as the smallest:


Although, come on, that seems like using a sledge hammer to drive a 4d nail.