Showing posts with label Projects. Show all posts

Sunday, July 12, 2015

Punch, brothers! Punch with care!


Here's a small project from the shop before it went into hibernation. It's pretty self-explanatory, so I'll let the pictures do the talking...


Complete, and...


...oiled - it will darken in time and match better.


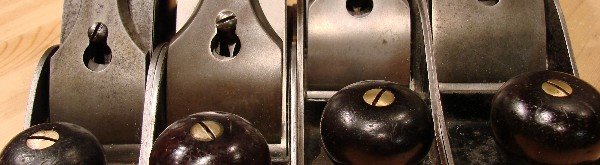
For me, there is something very satisfying in making old tools happy.


Thursday, June 18, 2015

Hemlock and Cedar Box


Well, obviously the blog has been rather dormant of late. Shop time has slowed to a crawl as I approach the event horizon of my own personal black hole. We bought a new house and it only needed "a wee little bit of sprucing up..." Huh.

Anyway, just to prove that I have not completely disappeared, here's a couple of photos of a not-too-recent project. It's a box made of hemlock and cedar, and I really like how those two woods look together. It's on the large size (approx. 20"x20"x12") and I tried to keep it simple and clean.


A detail shot of the spinner:


Both the cedar and the hemlock are quartersawn, and I like the look of the parallel grain - it adds to the "cleanness" in my opinion.


And of course, it opens...


More posts as I get the chance - soon I hope, although the shop is sitting in a storage unit waiting for its new home. Don't worry, it's okay, I had it cryogenically frozen like Walt Disney...
 
More on that another time.


Sunday, February 23, 2014

A Teasure Box for Clara


So I thought I'd take a short break from posting...and just nine months later I'm back!

Funny how life is sometimes...

Anyway, here's something that was created during that time - a treasure box for my daughter's birthday. I used poplar; I can't remember why, but it was nice to work with.


Clara told me it had to be "red, with purple corners". I mixed up some milk paint, and interpreted those instructions loosely...


...but she didn't care! Joy!


And in use.


Of course, now the boy wants one too...


Wednesday, June 12, 2013

Ugly Duckling Box

 
So I get almost all my wood at the BORG. The overall quality is low, but the thing is you can dig to your hearts content. With a little patience I can find almost perfectly clear stock, even quartersawn, but I can't count on it, so I tend to buy it when I find it and save it.
 
This particular story is different though. I didn't dig up this board, rather no one else wanted it. It was almost the last board left in the 1x12 stack when I got there, and as soon as I saw it, I had to get it. It looked so lonely! So it's been waiting in the shop for almost a year, and a few days ago I decided to build a box, or maybe I should say another box because I do seem to make a lot of them. Anyway, it was time for the ugly duckling board to shine! (Jazz hands!)
 
This box is a cross between my pencil box and the box I made to hold flutes (which apparently would also be cool for holding vinyl... although I don't know about that). If you want to see how I made this box, just check out those two posts.
 
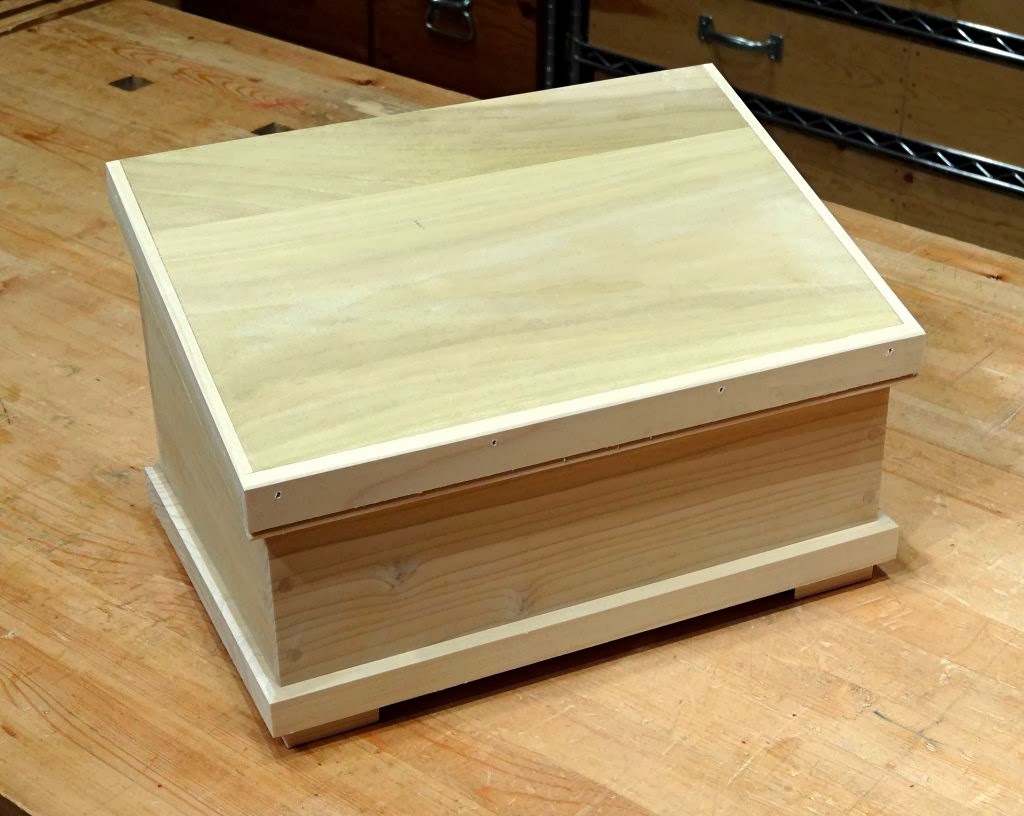
Here is the finished box before oiling:
 

And here is why we oil wood - KA-POW!:


The other end:


And a few detail shots:


Man, I wish there had been two of those boards!


Monday, April 15, 2013

One Hour Stool Part II


So it was time to paint the "One Hour Stool". I had already decided to paint it blue, but just to be sure I brought out the milk paint sticks. Yup, it still wanted to be blue.


I broke out the Real Milk Paint and mixed up a batch of sky blue. I wanted the paint to be somewhat transparent, so I adjusted the proportions to make it more of a wash.


After letting it sit for a bit, I painted up some scraps - Hey, those look like busted up legs from a small stool! Huh, wonder how that happened? Anyway, after they dried, I tested some various oil/wax combinations to see how they would change the appearance.


On the left, is my own beeswax/mineral oil mix. In the center, is Tried & True Varnish Oil. On the right, is Dark Tung Oil. I decided on one coat of the T&T Varnish Oil, and one coat of my own mix.

On to the stool.


First the paint.


Then the oil.


And it's done! I didn't keep track of time during this stage of the stool build. I'd have to estimate that the painting and oiling took about 45 minutes total shop time.

So I guess that would make this one hour stool a two hour stool...


Tuesday, April 9, 2013

One Hour Stool - Sort of...


One of the things I dislike about not having much time to spend in the shop is how the emphasis shifts to product, rather than process. "I don't have much time!" seems to be followed almost immediately by "I better get this finished!" I've tried to resist this, with limited success, but lately I decided to try a different approach - embrace it.

Hence, this project: The One Hour Stool. The ideas was simple - to see what I could whip up in one hour of shop time. It was fun, and frustrating, but somewhat successful. Let's take a look, with the timer running (times shown are the end of each step).

5' - Dug up some suitable scraps - got lucky with the curved parts left over from Clara's kitchen.


16' - Smoothed all the "show" faces on stock with smoothing plane (not shown)

20' - Whipped those curves true with the spokeshave.


24' - Added a 1/4" bead to the bottom edge (I didn't know it yet, but planted the seed of failure right here...more about that later).


27' - Stacked the leg blanks together (stepped) and used the drawknife and plane to put a bevel on the legs (top and bottom).


33' - Figured how much narrower the leg stock needed to be in order for the top to have a proper overhang (need that shadow line), and then reduced it down to size with a scrub plane and jack.


37' - Transferred the width dimensions directly from the rails to the legs, used a marking gauge set from the rail thickness to mark the depth, and brought the bevel angle down with a bevel gauge to lay out the notches in the legs for the rails.


43' - Cut the notches in the legs.


44' - All the stock finished. Oh, and somewhere in there I decided to put a bead on the top to ease the arris and to compliment the beaded sides - this took less than one minute (gotta love moulding planes!). But then I decided the legs needed feet, so....


49' - ...feet cut and...


51' - ...smoothed.


61' - I assembled the parts with glue and nails and...

62' - I ripped it apart due to a mistake!

Okay, remember back at 24' I mentioned something about "the seeds of failure"? Well, here's what happened. When I smoothed the curved ends of the sides I didn't bother to make sure the curves were exactly the same at opposite ends. I figured that as the sides were ganged together, the curves at each end would match and that opposite ends would be close enough. This probably would have been fine, except when I planed the beads, I didn't plane opposite faces which resulted in one side piece being reversed for assembly and then the opposite ends were paired. I'm not sure I'm making this clear, but trust me, it messed things up because I eyeballed the leg angle and placement by referencing the curve on the side pieces - which no longer matched... so after gluing and nailing I stepped back and "What?!" The whole thing was racked - from below the legs and sides made a trapezoid Hmm. Can't live with that... but with how to take it apart with the nails already set? Hmm.

Well, I solved that problem - I'll share it some other time. Then I had to remake the legs - which was okay because it let me make them longer, which improved the design.

So back on track:

63' (or about 83') - Drilled and pegged the set nail holes.


64' (84') - Done! The final stool.


This was a fun project and I like the lines of the little stool that came out of it. I also learned (relearned actually...) an important lesson about marking stock to keep track of orientation. You can see some of the fall-out from my mistake with the legs - the extra set of nail holes on the left. Oh well, maybe someday someone will have a bit of a puzzle out of that.
 
 
I'm going to paint it a happy blue color with milk paint and then let the kids play with it!