Sunday, February 23, 2014
A Teasure Box for Clara
So I thought I'd take a short break from posting...and just nine months later I'm back!
Funny how life is sometimes...
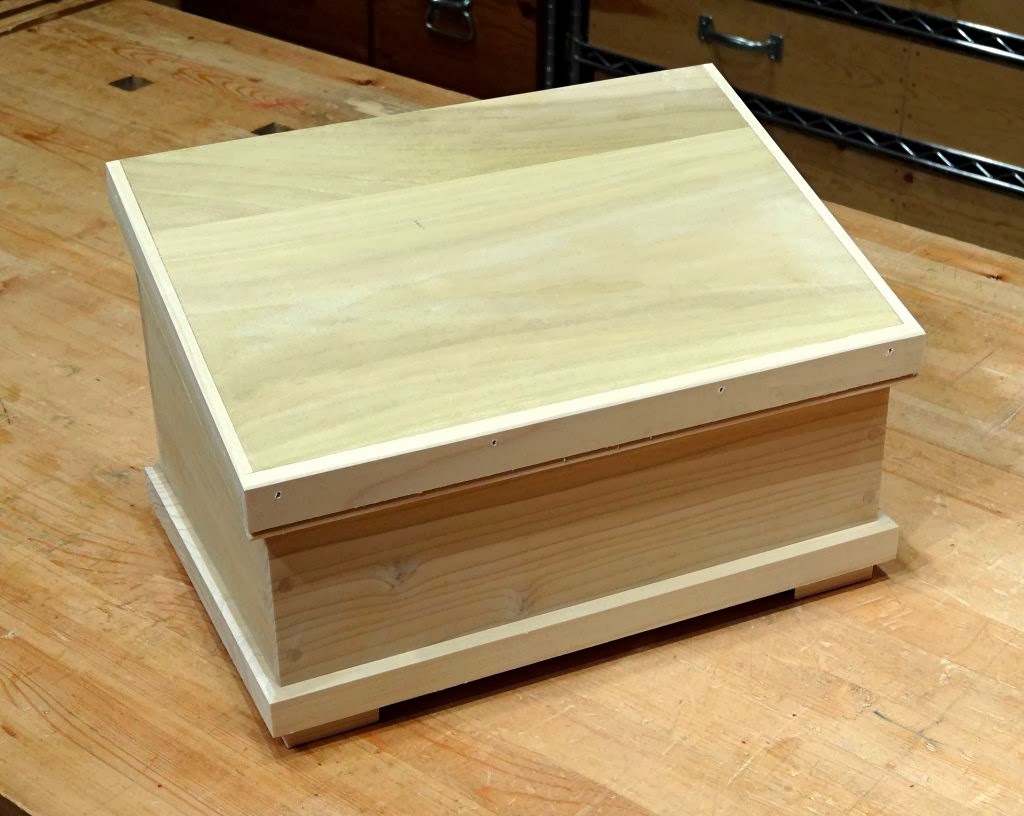
Anyway, here's something that was created during that time - a treasure box for my daughter's birthday. I used poplar; I can't remember why, but it was nice to work with.
Clara told me it had to be "red, with purple corners". I mixed up some milk paint, and interpreted those instructions loosely...
...but she didn't care! Joy!
And in use.
Of course, now the boy wants one too...
Thursday, June 27, 2013
Tool of the Month #4 - They Don't Make Them Like That Anymore...
Okay, so this tool of the month isn't exactly a woodworking tool. It was made for "linemen", and as such was designed for cutting and twisting wires. But it's still plenty useful around the shop, but its function is not the reason I picked it for Tool of the Month - its form is.
The instant I picked it up, my hand said "quality!". Then my eyes agreed. There is just something about the way this tool feels in the hand and appeals to the eye that I find pretty darn satisfying. I find myself picking it up just to handle it and feel the way it sits in my hands. A little silly, I know, but it's not an accident, someone made it that way and it's an uncommon thing these days.
I guess I find it to be tool art - uncompromisingly functional, but incredibly appealing in its shape, texture and heft.
Anyway, here are the details as I know them:
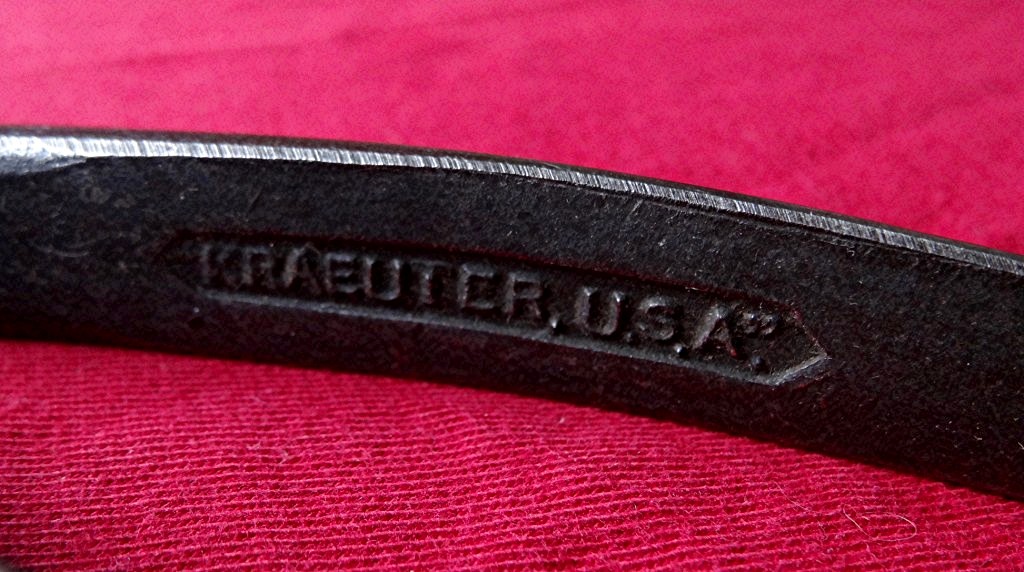
Manufacturer: Kraeuter
Location: USA
Model: 1831-8 8" Lineman's Pliers
Year: 1924- '40's?
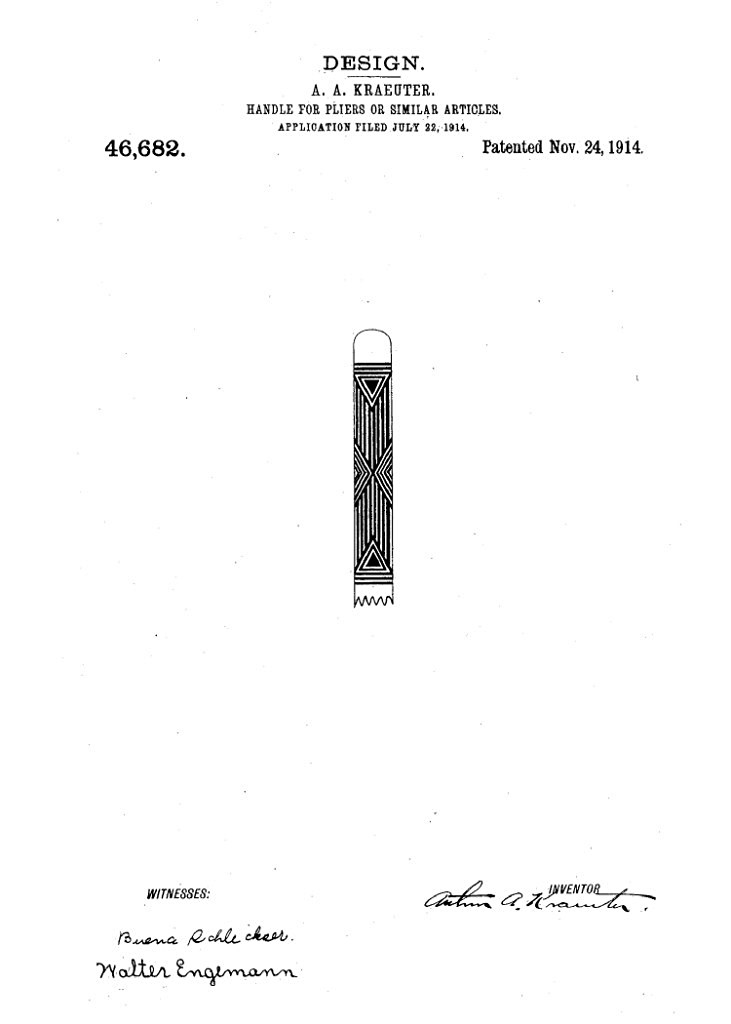
I think the condition of these pliers, after almost 100 years, is a testament to their quality. I also love the art deco grips. Kraeuter called these the "Don't Slip" pattern and began using it in 1914. Here is the patent on that design.
There is something incredibly pleasing, at least to me, about a tool that was created with pride, by a company that cared not only about how a tool performed, but how it felt and looked. It doesn't seem like there are many tools being made this way anymore - which is sad.

Monday, June 17, 2013
Silly Stuff: How to Make a Tape Measure
How to make a tape measure in two steps:
Step 1 - Get a yardstick*.
Step 2 - Get a plane.
Complete!*Instructions intended for use in USA, Liberia, and Myanmar only!
Wednesday, June 12, 2013
Ugly Duckling Box
So I get almost all my wood at the BORG. The overall quality is low, but the thing is you can dig to your hearts content. With a little patience I can find almost perfectly clear stock, even quartersawn, but I can't count on it, so I tend to buy it when I find it and save it.
This particular story is different though. I didn't dig up this board, rather no one else wanted it. It was almost the last board left in the 1x12 stack when I got there, and as soon as I saw it, I had to get it. It looked so lonely! So it's been waiting in the shop for almost a year, and a few days ago I decided to build a box, or maybe I should say another box because I do seem to make a lot of them. Anyway, it was time for the ugly duckling board to shine! (Jazz hands!)
This box is a cross between my pencil box and the box I made to hold flutes (which apparently would also be cool for holding vinyl... although I don't know about that). If you want to see how I made this box, just check out those two posts.
Here is the finished box before oiling:
And here is why we oil wood - KA-POW!:
The other end:
And a few detail shots:
Man, I wish there had been two of those boards!
Saturday, June 8, 2013
Mystery Tool II
Well I've lost track - anyway, I think this is the second mystery tool...
I picked this up in the tool section at a local thrift store. It was in a box labeled "plane parts". It does appear to have the adjustment wheel from a Stanley block plane as one of its parts, but I really don't see how this could be related to planes function wise.
Take a look:
My first reaction was a homemade version of those screen door tools, but those are so cheap I'm not sure why anyone would take the time to make one. Unless, they were in a remote location maybe...
Oh, I forgot to say it's about 5 inches long.
Any thoughts?
Sunday, May 19, 2013
Second Apprentice
I've added a second apprentice!
Here is a shot of her training:
Too bad, she seems to be lacking in enthusiasm. :)
And here she is admiring the growing skills of apprentice number one:
Life is good!
Monday, April 15, 2013
One Hour Stool Part II
So it was time to paint the "One Hour Stool". I had already decided to paint it blue, but just to be sure I brought out the milk paint sticks. Yup, it still wanted to be blue.
I broke out the Real Milk Paint and mixed up a batch of sky blue. I wanted the paint to be somewhat transparent, so I adjusted the proportions to make it more of a wash.
After letting it sit for a bit, I painted up some scraps - Hey, those look like busted up legs from a small stool! Huh, wonder how that happened? Anyway, after they dried, I tested some various oil/wax combinations to see how they would change the appearance.
On the left, is my own beeswax/mineral oil mix. In the center, is Tried & True Varnish Oil. On the right, is Dark Tung Oil. I decided on one coat of the T&T Varnish Oil, and one coat of my own mix.
On to the stool.
First the paint.
Then the oil.
And it's done! I didn't keep track of time during this stage of the stool build. I'd have to estimate that the painting and oiling took about 45 minutes total shop time.
So I guess that would make this one hour stool a two hour stool...
Subscribe to:
Posts (Atom)